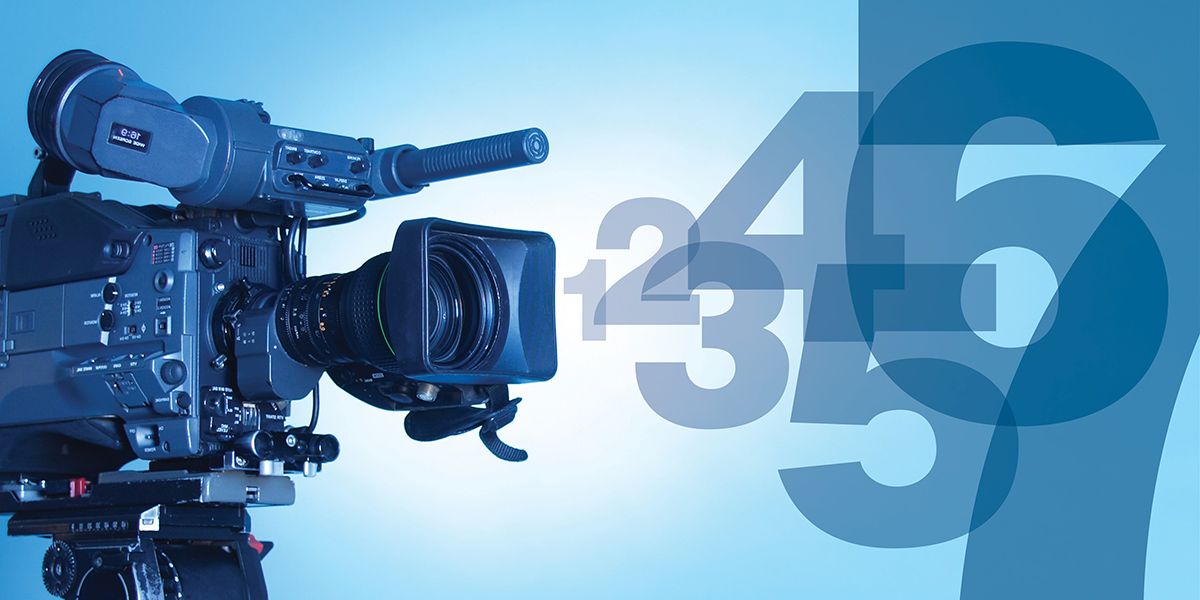
More time working from home means more opportunities to explore your creativity through video. While it may be hard to match what a professional videographer can achieve, with these guidelines you can sure come close! Start looking better for your next Zoom call or YouTube video with these seven super simple tips:
HIGHER RESOLUTION = BETTER VIDEO
Whether you prefer to take pictures with your phone or your computer, make sure you’re shooting in the highest quality possible: 1920×1080 (widescreen) at minimum. Anything less won’t result in clear, sharp video.
GET LIT… PROPERLY
If possible, avoid overhead lights and badly lit backgrounds, which can result in unflattering shadows on the face. Film in a bright room with natural lighting or use multiple lights instead. And if you can, try to angle your camera so that windows are out of the shots – windows always look blown out, or extremely bright, and can make the subject look darker.
BACKGROUND CHECK
Try and strike a balance between an overly busy background with loud colors (distracting) and a bland, minimal one (boring). The best backgrounds can range from a tidy office to a living space populated with items neutral in color.
QUIET ON THE SET
When filming, choose a quiet space, preferably with no other people around. Modern microphone technology is surprisingly sensitive and can pick up noises from upstairs, outside or the other room. If an unexpected noise does occur, it’s best to redo that shot to make sure the audio is as clean as it can be.
CENTERED, STEADY & READY
Adjust the subject so that it doesn’t sit too far, or too close to the background – proper depth is key. You know you’ve reached the sweet spot when the subject’s head touches the top of the screen slightly and their gaze is at eye level. Once you’ve completed your shot angle, keep it there! No one likes to watch a video with shaky footage, so if you happen to be filming on your phone, use a tripod or secure it on a stable surface.
TAKE 1, TAKE 2 (OR AS MUCH AS YOU NEED)
Most people don’t feel comfortable in front of the camera, so the best thing you or your subject can do before your shoot is to practice, practice and practice again. The more you, or they, run through the script the more natural it’ll sound and the easier it gets. Smiling before and after talking also makes the final edit look more professional and ensures the final shots aren’t of you or the subject reaching out to stop the recording.
SEND IT THROUGH
After the shoot comes a very important step: how are you sending the video that will get posted or edited? Your best bet is to upload the raw file to a cloud-based server like OneDrive or Box. This way, the file won’t be condensed, and the quality will remain the same. Avoid emailing it if you can since most email servers will reduce the size of the video so it can fit in your email, thus reducing the quality.
Becoming a better amateur videographer does take a bit of practice, but by mastering these basics, you’re well on your way to filming more like a pro!